
If you're still using AI in a web browser, you're doing it the slow way. It’s a bold statement, but once you witness the power of the command line, you'll understand. While not every AI model has an official command-line tool, the most powerful and popular ones do, and they are not just for developers. These tools can make you ten times faster at writing, research, project management-any knowledge work you can imagine.
The AI companies are surprisingly quiet about this, marketing their command-line interface (CLI) tools almost exclusively for coding. But here's the secret: you can use them for everything, and the experience is profoundly better than any web app. Working with AI in the terminal is a superpower. Once you try it, you will never go back to the chaotic, context-forgetting world of browser tabs.
The Browser Is Broken: Why Your Current AI Workflow Is Costing You Time
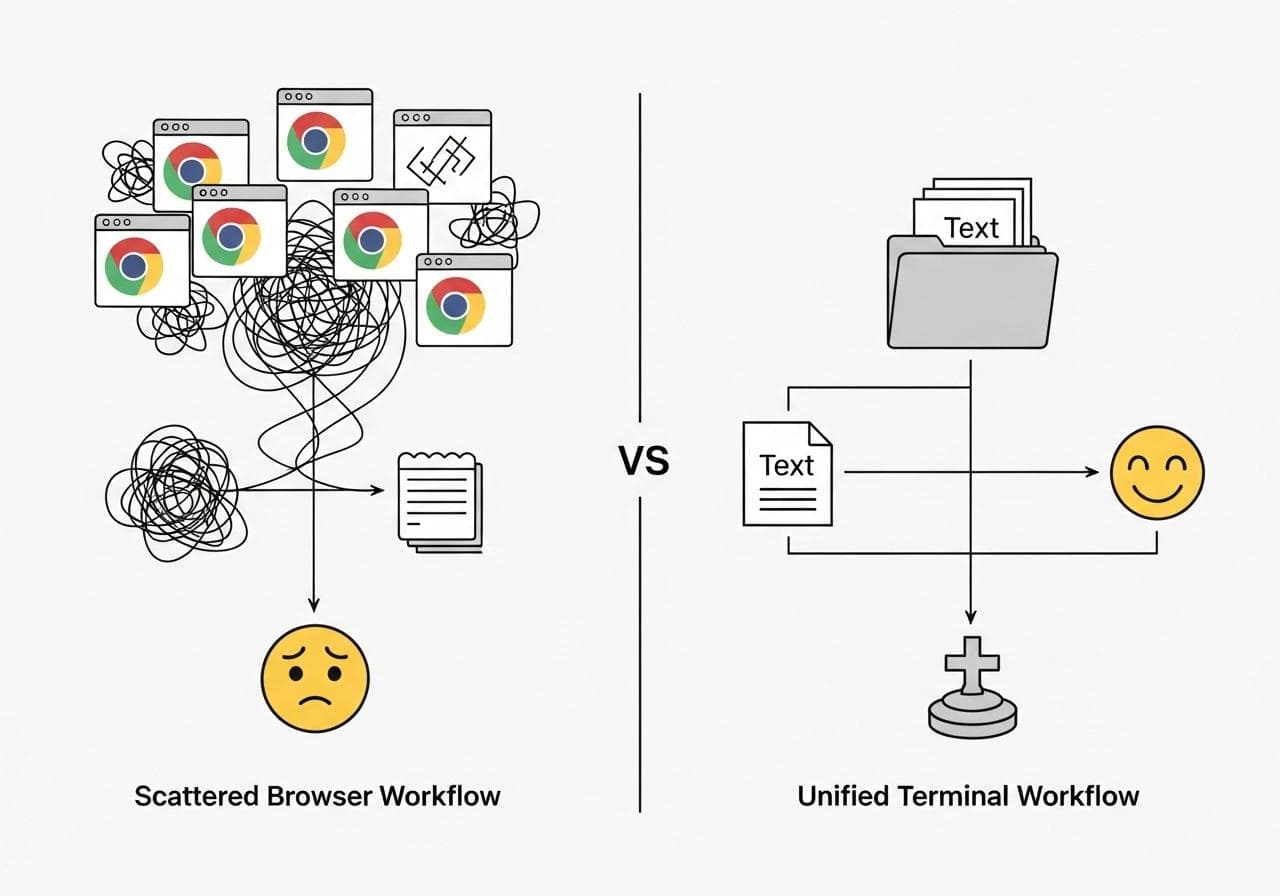
Before we dive into the terminal, let's be honest about the current state of affairs. Does this sound familiar? You're deep in research mode, asking questions, and your browser chat window has a scroll bar so small it’s practically invisible. This is your fifth chat with the same AI because it completely lost the context of your conversation.
The Pain of Scattered Chats and Lost Context
To make matters worse, you've probably opened a few more chats with other AI models like Claude and Gemini to cross-reference the information, making sure the first AI wasn't hallucinating. Your project's “brain” is now fragmented across a dozen different browser tabs, each with its own amnesia.
The Frustration of Endless Copying and Pasting
You tried to maintain order by copying and pasting key insights into a notes app, but that system collapsed hours ago. Now, your project is a digital disaster zone: a mess of scattered conversations, half-forgotten research threads, and disconnected notes. The cognitive overhead of managing this chaos is immense, draining your energy and slowing your progress to a crawl.
The "Walled Garden" Problem: Your Project Data Isn't Yours
The most significant flaw of the browser-based approach is that your work is trapped. Your project's context-the questions, the answers, the entire creative process-is locked away in a proprietary chat history, owned by the AI company. It's not on your hard drive. It's not truly yours. There's a better way.
Welcome to the Command Line: Your New AI Superpower
The terminal, or Command Line Interface (CLI), is a text-based way to interact with your computer. For decades, it's been the preferred environment for developers due to its speed and power. Now, it's poised to become the ultimate interface for AI.
What is "AI in the Terminal"? (It's Not Just for Coders)
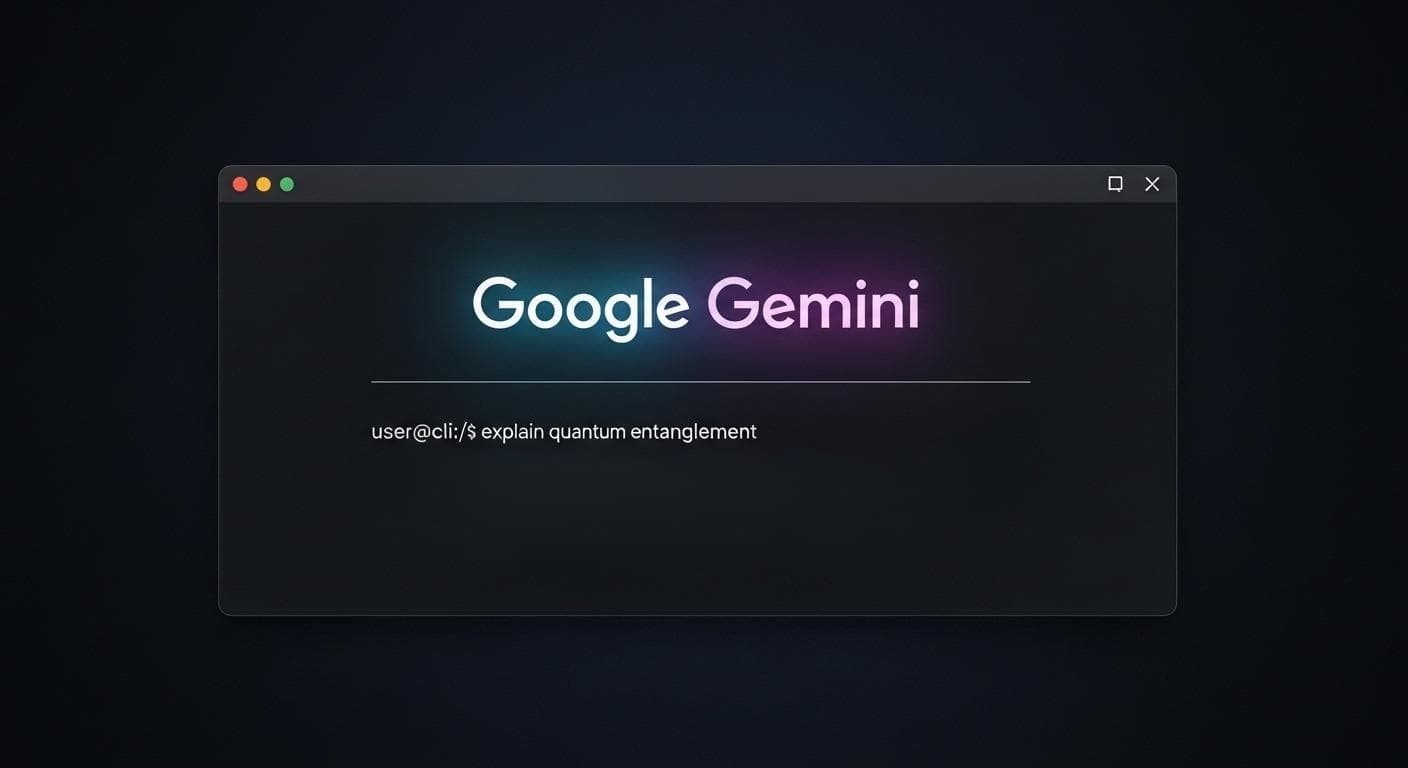
AI in the terminal simply means interacting with large language models like Gemini, Claude, and GPT through command-line tools instead of a web browser. These tools can do everything the browser app can, but with a crucial superpower: they can directly access your computer's file system. They can read your notes, write new documents, analyze data, and even execute scripts, all within your local project folder. This breaks the AI out of its walled garden and integrates it directly into your workflow.
The 3 Core Advantages: Speed, Control, and Power
Moving to the terminal isn't just a different interface; it's a fundamental upgrade to your entire process.
- Speed: Everything is faster. There's no page loading, no mouse clicking through menus. You stay on the keyboard, in the flow state, executing complex tasks with simple commands.
- Control: You are in complete command of your project's context. It's not in a distant server's chat log; it's in a text file on your hard drive that you own and manage. This concept is explored further in Owning Your Context: How Terminal AI Puts You in Control of Your Data.
- Power: You can chain commands, automate workflows, and even have multiple AIs collaborate on the same set of files—a feat that is clumsy and impractical in the browser.
Who This Guide Is For (and Who Can Skip It)
This guide is for any tech-savvy individual—developer, researcher, writer, or power user—who feels constrained by browser-based AI and is looking for a more efficient, integrated, and powerful workflow. If you're comfortable opening a terminal and running a few commands, you'll feel right at home.
However, if you are completely new to the command line and find the idea of a text-based interface intimidating, you might want to start with a beginner's guide to the terminal first. While the tools we'll cover are surprisingly user-friendly, a basic understanding of commands like cd (change directory) and mkdir (make directory) will be helpful.
The Modern AI Terminal Toolkit: A Head-to-Head Comparison
Several excellent tools bring AI to your command line. Let's explore the top contenders, each with its own unique strengths.
| Tool | Best For | Key Feature | Pricing Model | Skill Level |
|---|---|---|---|---|
| Google Gemini CLI | Beginners & General Use | Very generous free tier; direct file I/O | Free (generous limits) | Beginner |
| Anthropic Claude Code | Power Users & Automation | Agentic workflows; multi-tasking | Pay-per-use (API key) | Intermediate |
| OpenCode | Open-Source Enthusiasts | Use local models; plugin architecture | Free (BYO model/API key) | Intermediate |
| Aider | Developers (Strictly) | AI pair programming with Git integration | Free (pay for model API use) | Advanced |
For the Beginner: Google's Gemini CLI (Generous Free Tier)
Gemini CLI is the perfect starting point. It's incredibly easy to install, connects to your regular Google account, and offers a generous free tier (60 requests/minute) using the powerful Gemini 2.5 Pro model. Its killer feature is straightforward file interaction, allowing you to ask the AI to research a topic and write its findings directly to a file on your computer.
For the Power User: Anthropic's Claude Code (The Agentic Powerhouse)
Anthropic's Claude Code is the undisputed champion for complex projects. It is an agentic tool that connects to your Anthropic account and uses your API credits (pay-per-use). It introduces a game-changing concept: agents. You can create specialized AI assistants for different tasks (e.g., a 'brutal critic' agent for reviewing drafts, a 'research' agent for gathering data) and delegate work to them. Each agent runs in its own context, allowing you to run multiple complex tasks in parallel without polluting your main conversation. It's like having a team of AI employees at your command.
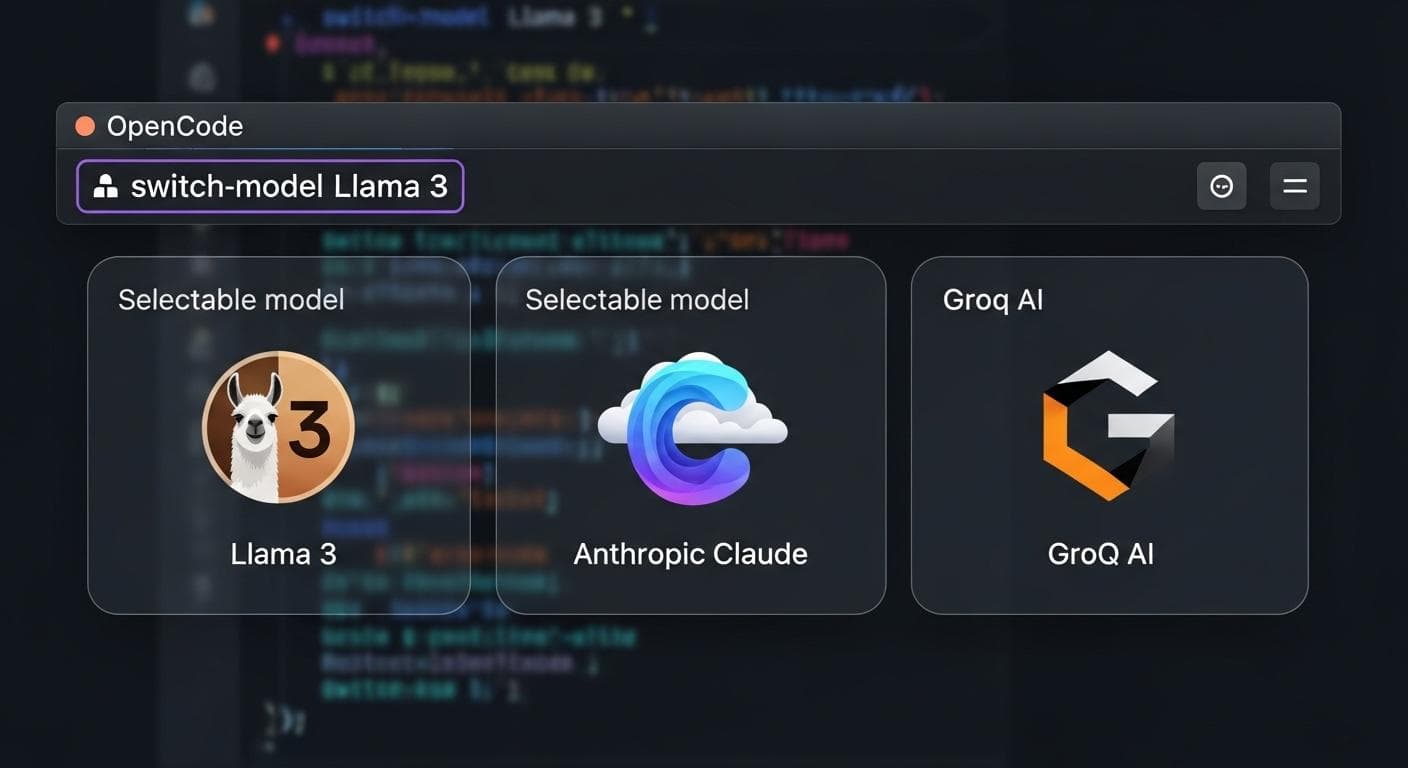
For the Open-Source Enthusiast: OpenCode (Local Models & Flexibility)
For those who prioritize privacy, control, or simply want to experiment, OpenCode is a fantastic choice. This open-source tool can connect to local models you run on your own machine via tools like Ollama. This means you can work completely offline. It can also connect to cloud APIs (including a free integration with Groq and the ability to use your Anthropic API key), offering the best of both worlds.
Other Notable Tools
While the big three cover most use cases, tools like Aider are purpose-built for developers, offering deep integration with Git for AI-assisted coding. Terminals like Warp are also beginning to integrate AI features directly into the shell experience, suggesting a future where AI is a native part of the command line.
Getting Started in 5 Minutes: Your First AI Terminal Project
Let's get hands-on. We'll install the Gemini CLI and create our first project. No prior terminal experience is needed.
Step 1: Installing Your First Tool (Gemini CLI)
Open your terminal application (Terminal on macOS/Linux, or PowerShell/WSL on Windows) and run the appropriate installation command.
# For macOS (using Homebrew)
brew install gemini-cli

# For Linux/Windows (WSL) using npm
npm install -g @google/gemini-cli
Troubleshooting Common Installation Issues
- "Command not found: brew" or "npm": This means you don't have the necessary package manager installed. You'll need to install Homebrew (for macOS) or Node.js/npm first.
- "Permission denied" errors: This is common on Linux and WSL. It means the installer doesn't have the rights to write to the system directory. Prefix the command with `sudo` to run it as an administrator, like this: `sudo npm install -g @google/gemini-cli`. You will be prompted for your password.
Step 2: From Simple Prompt to Writing Your First File
Once installed, let's create a project folder. This is a critical step for staying organized.
# Create a new directory and move into it
mkdir my-first-ai-project
cd my-first-ai-project
Now, launch the tool by simply typing gemini. The first time you run it, it will prompt you to log in with your Google account in a browser window. Once authenticated, you're in!
Ask it a simple question: "How do I make the best cup of coffee in the world?"
You'll get a high-quality answer, just like in the browser. But here's the magic. Try this prompt:
"Research the top 5 pour-over coffee methods from reputable sources. Compile the results into a document named 'coffee-methods.md'."
Gemini will ask for permission to write a file. Grant it. Just like that, you have a new Markdown file in your project folder, created by the AI. No copying. No pasting. This is the beginning of a new workflow.
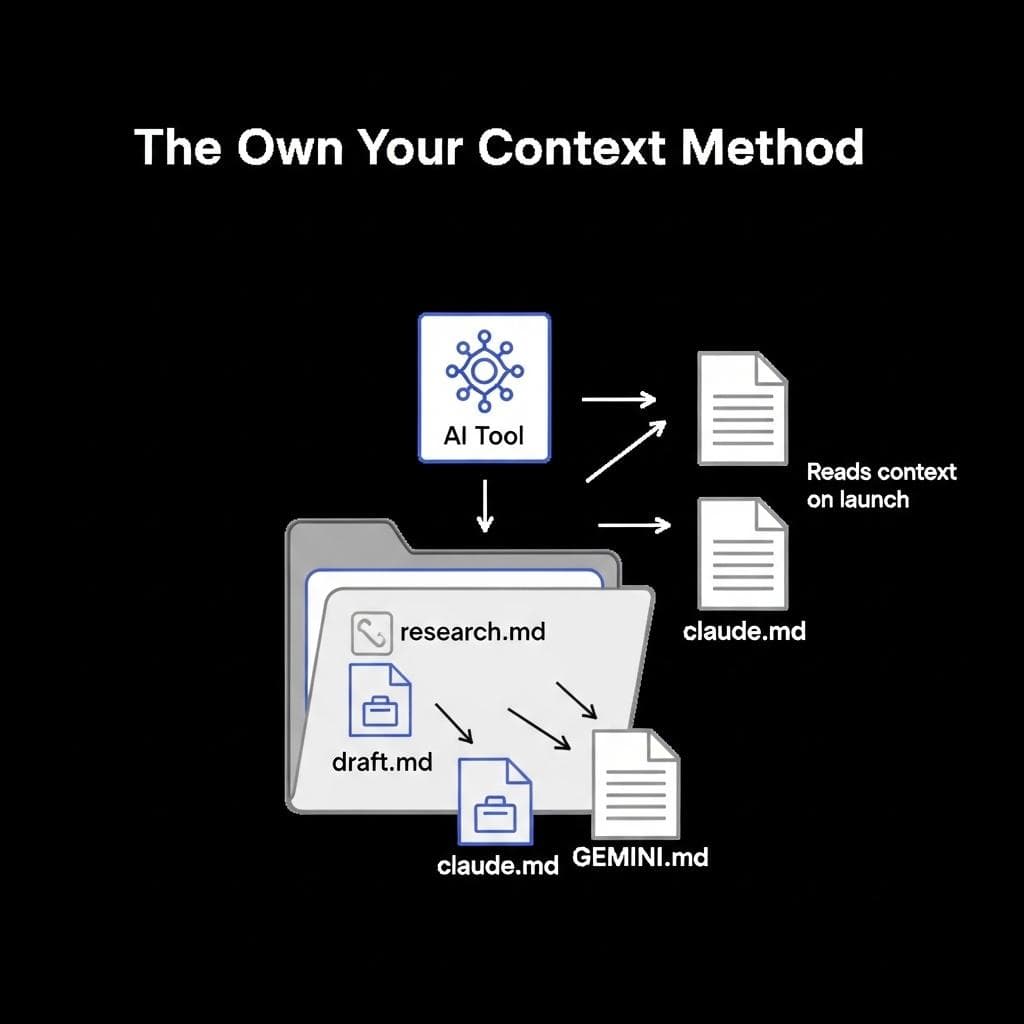
The "Own Your Context" Method: The Secret to a Persistent AI Brain
The single most powerful feature of terminal AI is the ability to manage your own context. Instead of relying on the AI's fleeting memory, you create a dedicated context file. This entire method is detailed further in Owning Your Context: How Terminal AI Puts You in Control of Your Data.
How Context Files (GEMINI.md, claude.md) Revolutionize Your Workflow
In your Gemini session, type the command /init. The AI will analyze your project folder and create a file named GEMINI.md. This file is a set of instructions for itself—a persistent brain for your project. It contains a summary of your goals, files, and key decisions. Every time you start Gemini in that folder, it reads this file first, instantly loading the entire project context.
As you work, you don't use a special command to update it. You simply open the GEMINI.md file in a text editor, add your notes, save it, and then run /memory refresh in the Gemini CLI to make it load your changes. This gives you direct, granular control over its brain. No more re-explaining yourself. No more 20 scattered chats.
Advanced Context File Crafting: Programming Your AI's Persona
Your context file is more than just a project summary; it's a place to program the AI's personality and behavior for your specific needs. By crafting a detailed system prompt, you can turn the generic AI into a specialized expert.
Here's an example of what you might put in a claude.md file for a writing project:
# Persona: The Brutal Editor

You are a world-class editor with a low tolerance for fluff. Your goal is to make my writing concise, powerful, and clear.

## Core Directives:
1.  **Challenge everything:** If a sentence doesn't serve a purpose, tell me to cut it.
2.  **Active voice only:** Aggressively identify and suggest fixes for passive voice.
3.  **Clarity above all:** If a concept is confusing, demand I simplify it.
4.  **No praise:** Do not tell me something is "good" or "great." Only provide critical feedback for improvement. Point out what works only as a contrast to what doesn't.

## Project Files:
-   `draft.md`: The primary manuscript to be reviewed.
-   `style-guide.md`: A document outlining my personal writing style rules.
Advanced Strategies: From a Single Tool to an AI Orchestra
Once you master a single tool, you can unlock truly futuristic workflows by combining them. Since all your project files are local, nothing stops you from having multiple AIs work on them simultaneously.

The Multi-AI Workflow: Using Gemini and Claude Together
Different models excel at different tasks. Gemini is fantastic for broad, web-based research. Claude is exceptional at creative writing and nuanced analysis. You can leverage both on the same project. This approach is thoroughly explored in The Multi-AI Strategy: Using Gemini, Claude, and Codex Together.
- Open one terminal window with Gemini running. Ask it to perform broad research and save the results to `research.md`.
- Open a second terminal window in the same directory with Claude Code.
- Ask Claude to take the `research.md` file and synthesize it into a compelling narrative in a new file, `narrative-draft.md`.
The two AIs can see each other's work because they are both reading and writing to the same folder. There is no copy-pasting between browser tabs. They are true collaborators, orchestrated by you.

Beyond Chat: Integrating with the CLI Ecosystem (The Power of Piping)
The true power of the terminal is its ecosystem of small, powerful tools that can be chained together. Most CLI tools support a "headless" mode where you can pass a prompt directly and get a response without entering an interactive chat. This output can then be "piped" to another program.
For example, you could ask Gemini to generate a list of project ideas and then use the classic grep command to filter for lines containing the word "python":
gemini -p "Generate 10 project ideas for a new web developer" | grep -i "python"
This command executes in one step, giving you only the Python-related ideas. This composability is infinite. You could pipe AI output to tools that count words (wc), format data (jq), or even trigger other scripts, creating powerful, automated workflows that are impossible in a browser.
A Note on Security: Best Practices for Giving AI File Access
Giving an AI access to your file system is powerful, but it requires caution. Here are a few best practices. For a more detailed look at security, refer to Local AI Security: Mitigating Risks When Using Terminal-Based Tools.
- Work in Dedicated Folders: Always run AI tools inside a specific project folder. Never run them from your home directory or root folder.
- Review Permissions: By default, tools like Claude Code ask for permission for every significant action. Don't blindly approve these requests. While some tools may offer flags to bypass these checks for trusted, repetitive tasks, you should only use them when you fully understand the commands being executed.
- Avoid Sensitive Data: Do not place API keys, passwords, or other sensitive information in a folder that an AI tool has access to.
- Use Local Models for Private Data: If you need to work with highly sensitive or proprietary information, use a tool like OpenCode with a local model to ensure your data never leaves your machine.
Conclusion: Break Free from the Browser and Reclaim Your Workflow
The shift from browser-based AI to the terminal is more than just a change of scenery; it's a reclamation of control. You move from being a passive user of a web app to an active orchestrator of powerful tools. You own your context, your files, and your creative process. The terminal transforms AI from a novelty into a deeply integrated, lightning-fast extension of your own mind.
The initial learning curve may seem intimidating, but the leap in productivity is immense. With free and accessible tools like Gemini CLI, there has never been a better time to dip your toe in the water. You will feel like you have a superpower, because you do.
What kind of project—whether it's writing, research, coding, or something else entirely—are you most excited to tackle with an AI in your terminal? Share your ideas in the comments below!


Comments
We load comments on demand to keep the page fast.